How To Make A Zine At Home
you can even update your resume while you're at it...

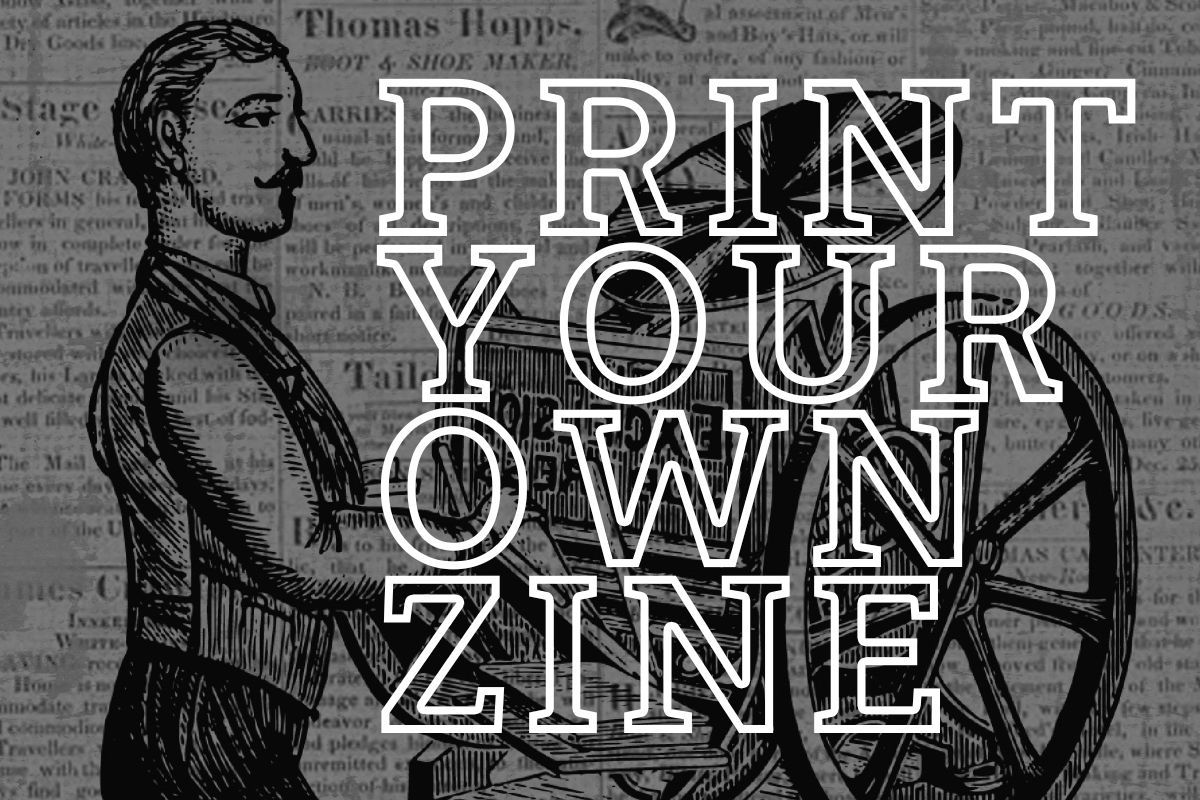
Our first zine is a collection of some of our favorite responses to a topic we covered with everyone we talked to in 2022 — where did all the actually anti-establishment musicians go?
You can download the pdf version for free here:
Below, I discuss what all went into making the printed booklet.
Most of the software I used was free — though when it came time to print the final booklet, using Adobe Acrobat Reader on a Mac made things a lot easier.
TL;DR: A Quick Overview
- Page Formatting: You can use Overleaf, a free online LaTeX editor to format the individual pages of a booklet. I used this template for my zine. You can also use Overleaf to format a resume — they have a lot of neat easy to use templates for all sorts of stuff.
- Public Domain Art is great way to find free artwork to use in your zine or other projects without having to worry about copyright stuff. For my cover I used this library.
- Print Formatting: I used Adobe Acrobat Reader to print the pages as a double sided booklet.
- Printing the Cover: I printed the cover & back page separately for easier formatting of the inside printed pages.
- A Stapler Recommendation: You will want a swingy boy like this. Otherwise you're going to destroy your booklet and/or counter top and/or hands in the process.
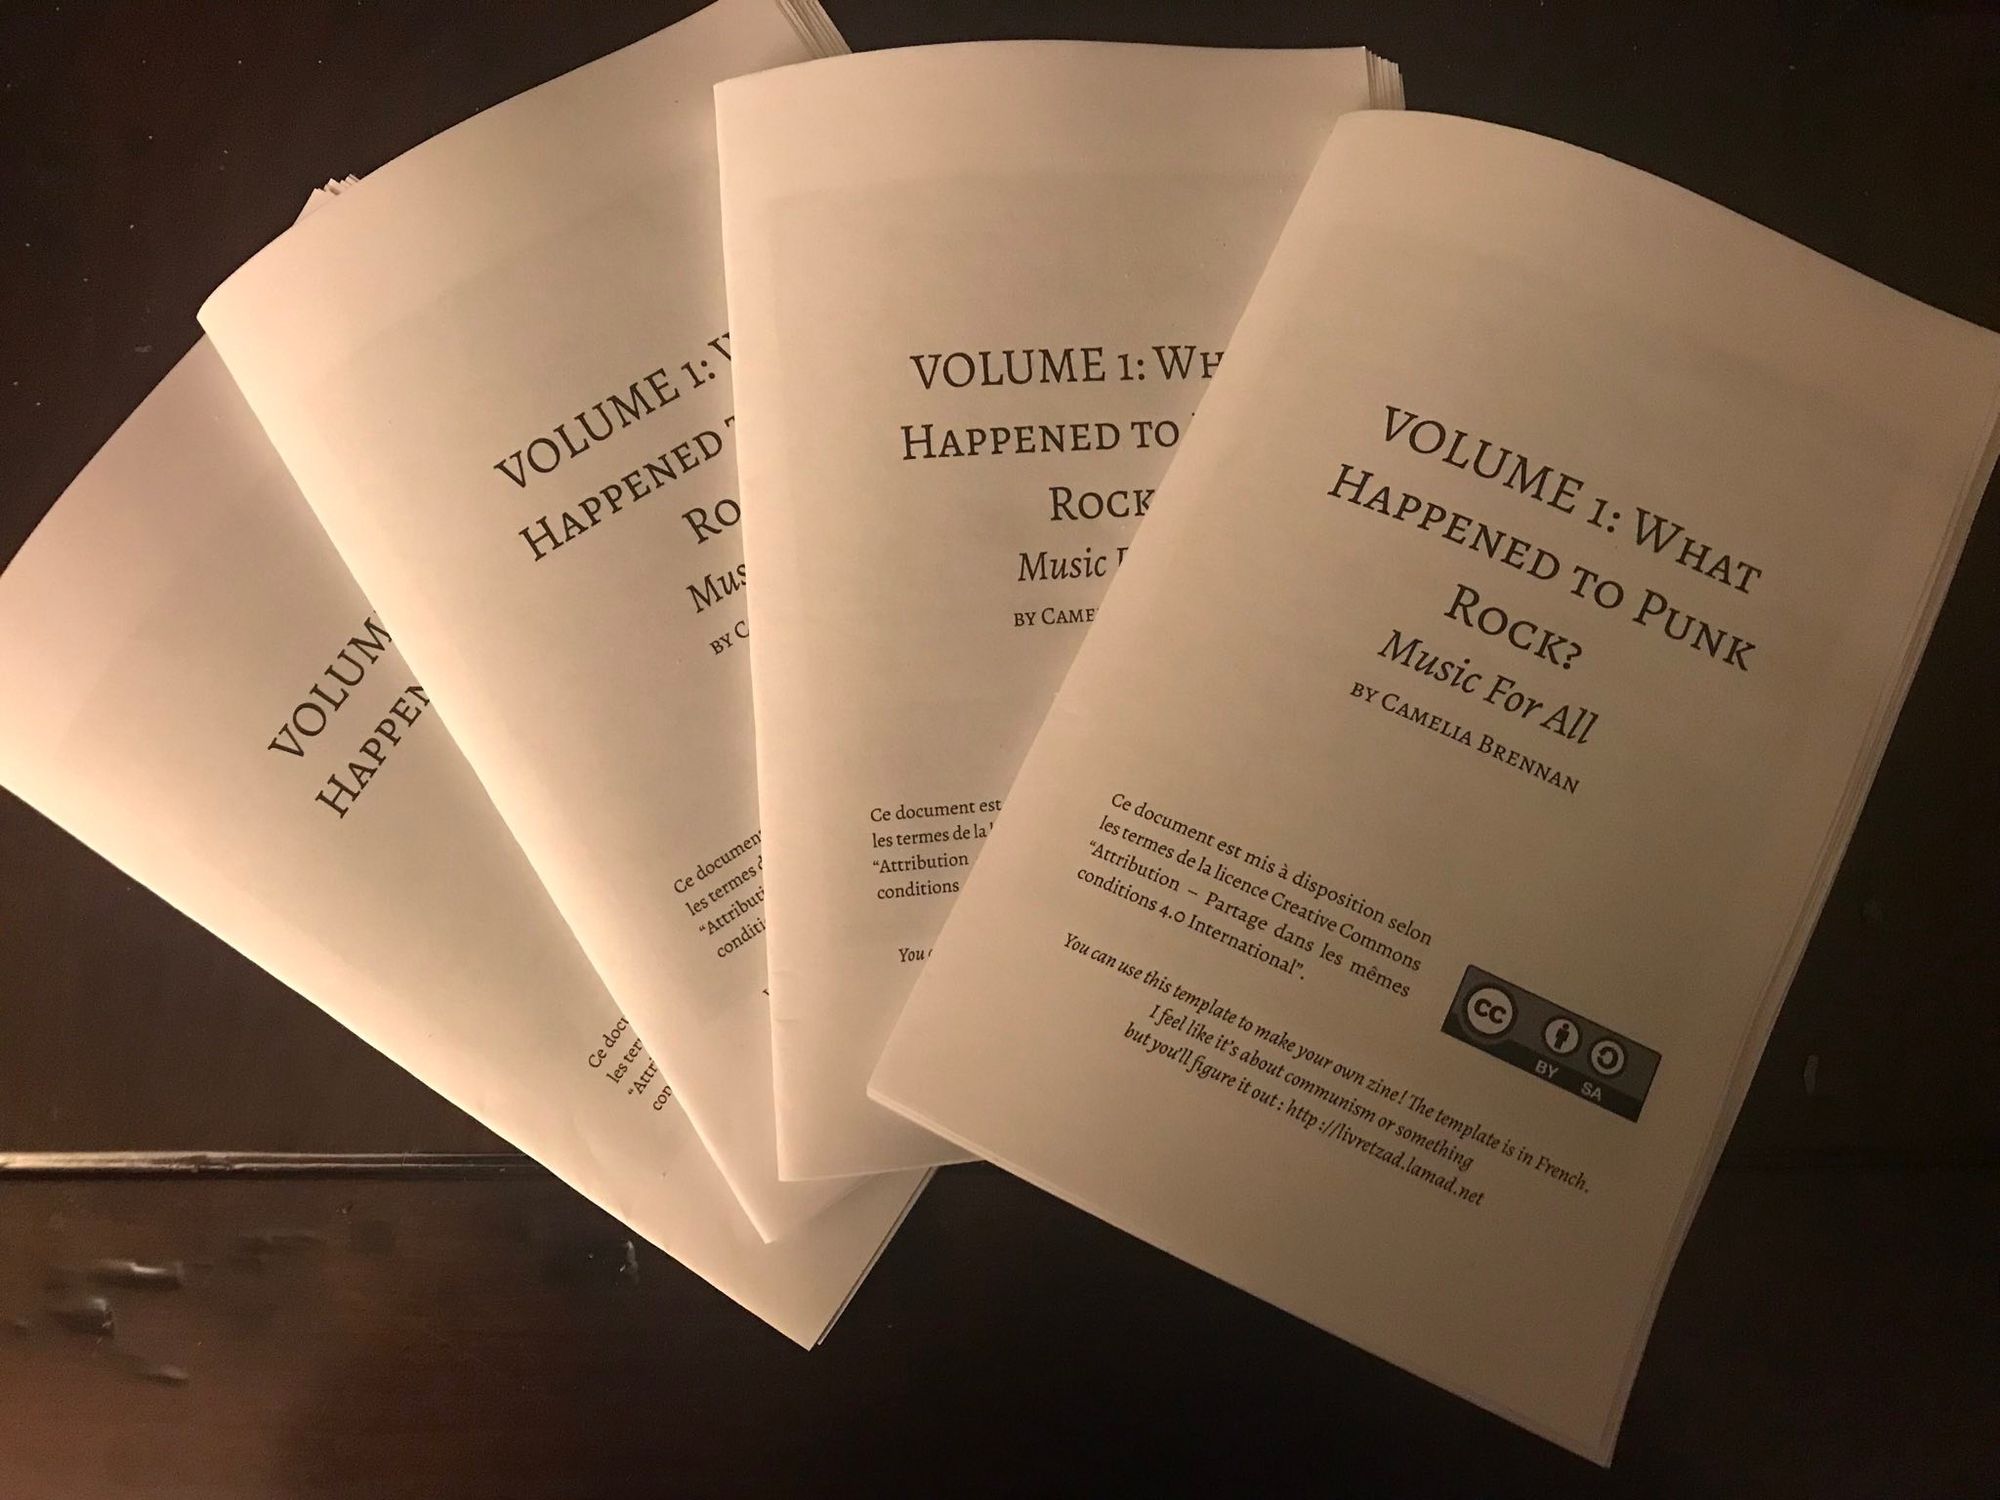
You can view the pdf version of Volume 1 What Happened To Punk Rock + purchase the printed version here.
Overleaf
Resume
If you want to improve your employment situation, a good place to start is figuring out how to display your value in a concise and aesthetically pleasing way. Despite what some people on the internet seem to think, you more than likely cannot force someone to pay you more money by screaming about it.
Ideally, you would show why you're worth more. If you work in a creative field, I would recommend showing your resume to someone in a different industry that you respect, so they can provide feedback. This works especially well if you have a friend or family member who is very good at business.
A few years back, after a complete overhaul of the content on my resume, I used this Overleaf template to format it. I found this to be much easier than trying to use InDesign or Word, and I started getting a lot more interviews.
Formatting Individual Pages
So — this brings us to why I thought of Overleaf when I started pondering how I was going to format my zine. Once I compiled all the excerpts I wanted to include, I didn't know how I was going to format it for a booklet that was easy to print.
Finding an existing easy to use template for this many pages was difficult, and print on demand options were expensive.
Important to note there are two formatting considerations for printing a booklet at home:
- Formatting the individual pages correctly — we will use Overleaf for this and save that document as a pdf. The pdf download at the top of this article is how it will look when exported from Overleaf.
- Formatting those pages to print correctly — in order, double sided to properly fold into a booklet on an 8.5" x 11" piece of paper that will be stapled in the middle — we will use Adobe Reader to print the completed pdf document from Overleaf as a booklet.
To format the individual booklet pages, I found this template on Overleaf. It is in French, but it was not too difficult to get the hang of what was what. Unfortunately, I couldn't find any that were quite what I was looking for in English, but this was a great start!
This template automatically updates a Table of Contents based on the chapters as you create them too.

Public Domain Art
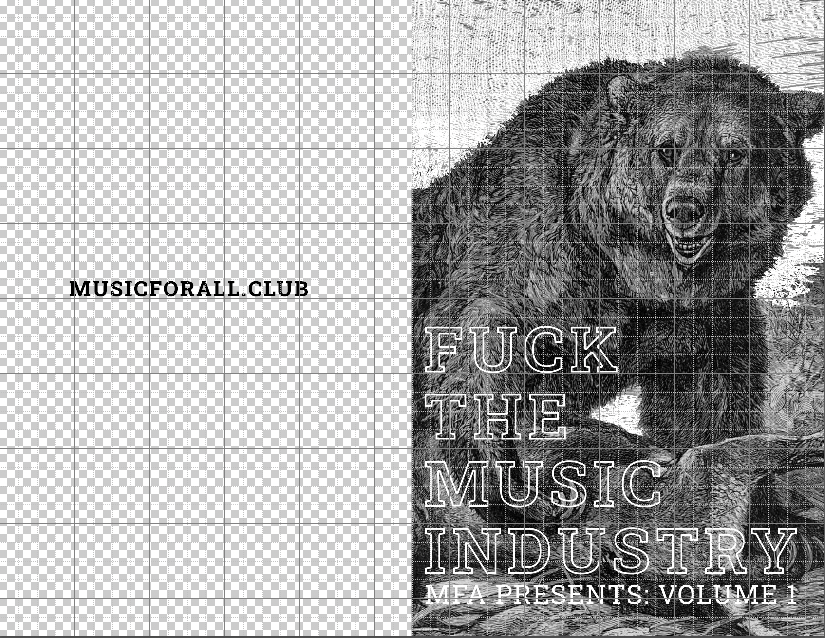
A lot of cool art is available for free by searching creative commons or public domain. I'd been going down some rabbit holes of older nature diagrams and images that are in the public domain and really like this collection. This is where I found the bear image I used for the cover artwork:
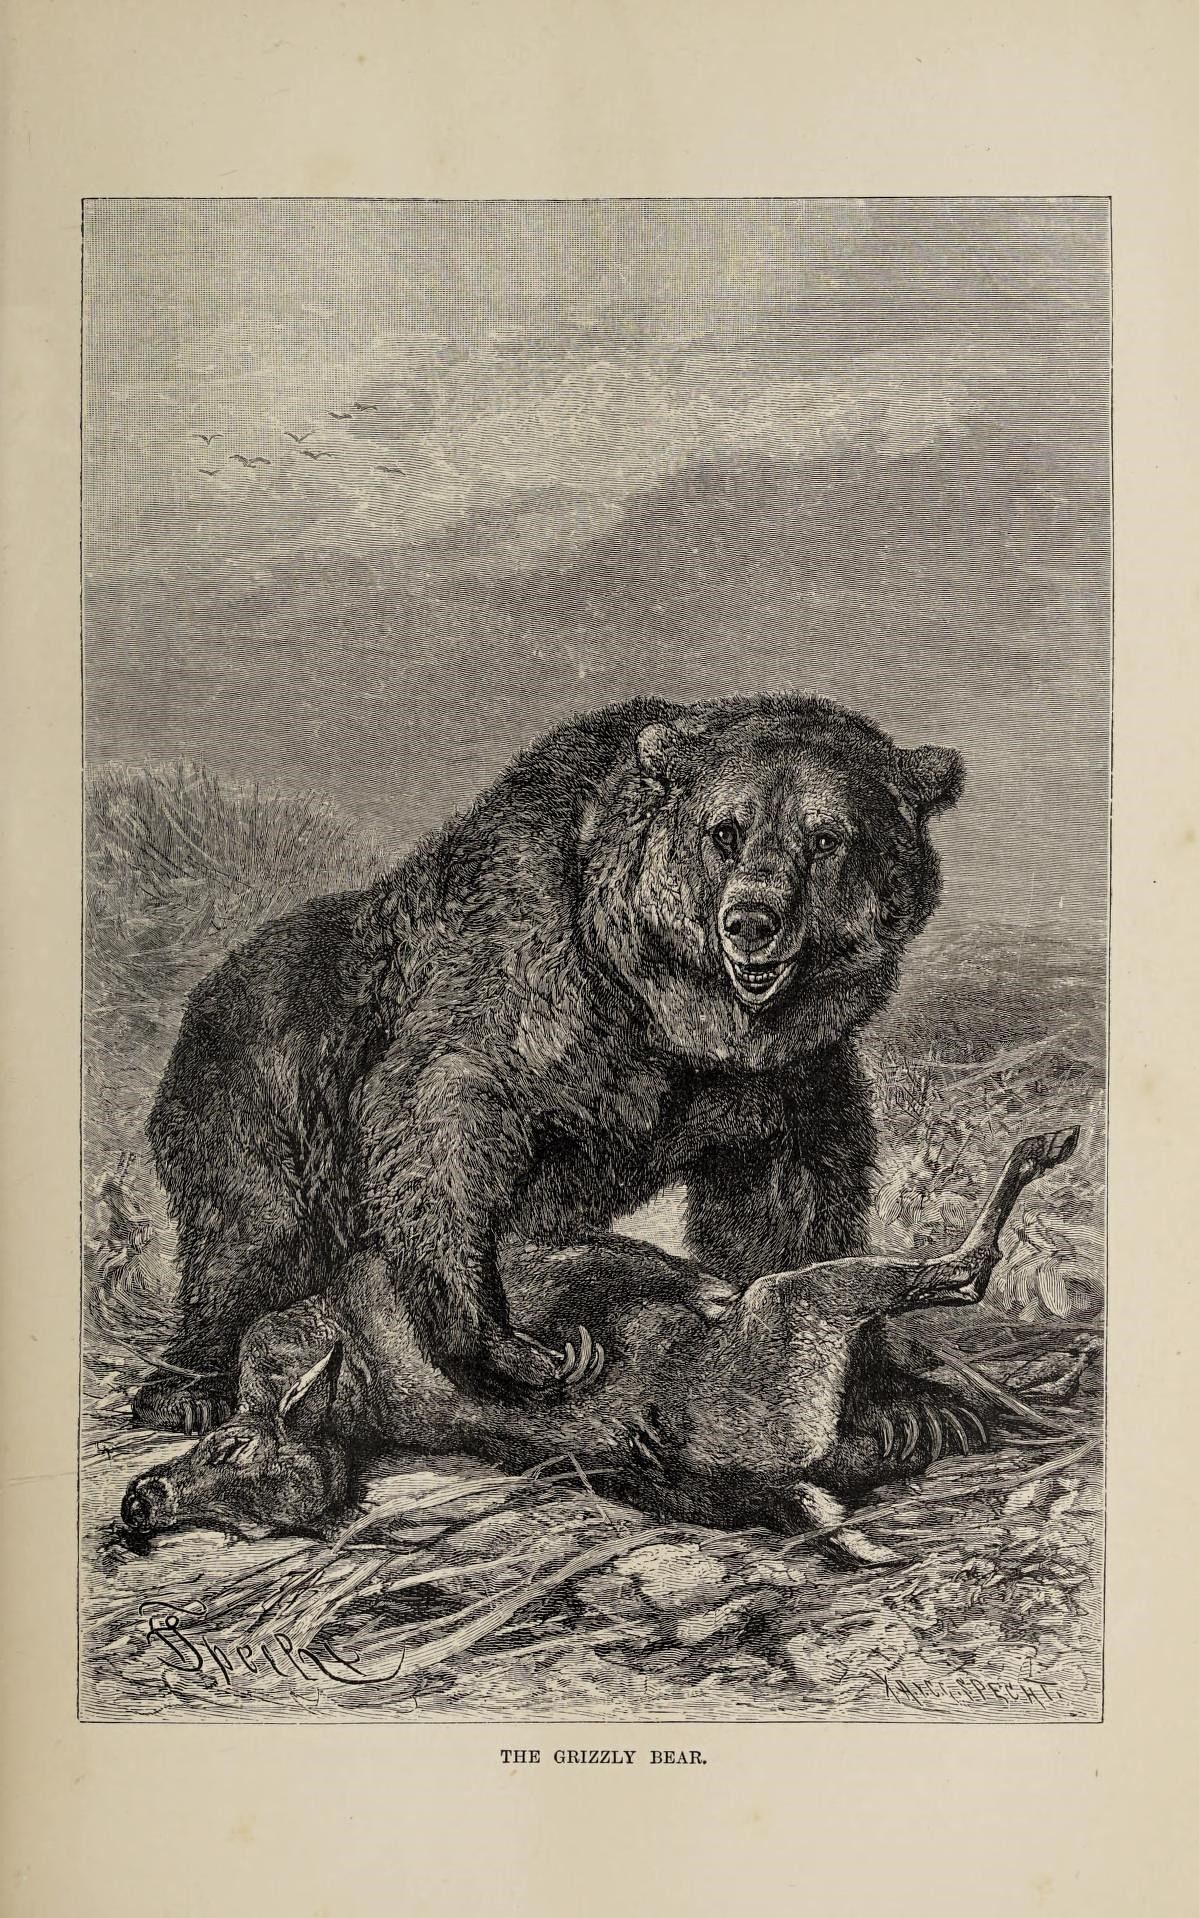

I edited this using Photoshop — however you can use GIMP for free to edit images, as I've written about here.
 Music For All
Formatting for Print
Now that I had all the pages saved as a pdf, I knew I had 33 pages and I wanted to print 2 pages per piece of paper, double sided, like the image above.
So, each individual pdf page would need to be 5.5" x 8.5" printed on 11"x 8.5" paper.
I decided to print the cover and back page separately, so I could make more adjustments to the margins and add some details onto the back page. Also including the cover image seemed to create some confusion with properly formatting the pages in order, so when printing I select only the pages in the actual booklet and left out the first page.
How to Print a Booklet Using Adobe Acrobat Reader:
1. Pages to Print Adjust the printed pages to remove the cover page
(ex: 2-33)
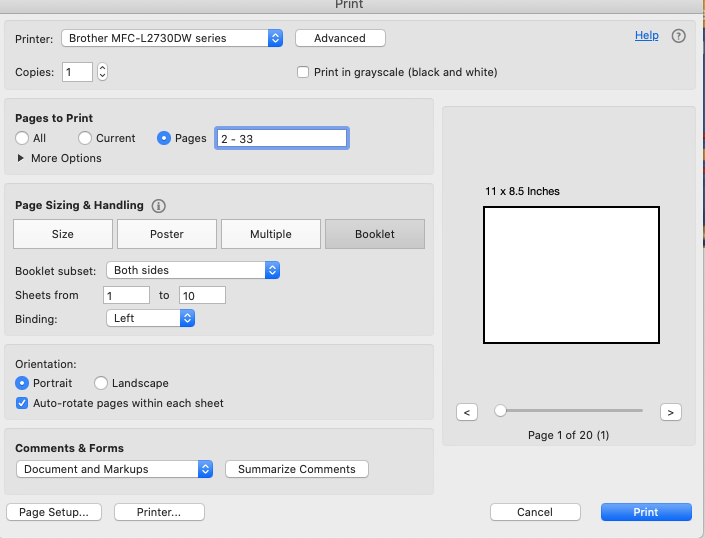
2. Pages Sizing & Handling select booklet & both sides. Left Binding. Keep the "sheets from" section at whatever it auto populates at.
3. Orientation select portrait and auto-rotate pages within each sheet.
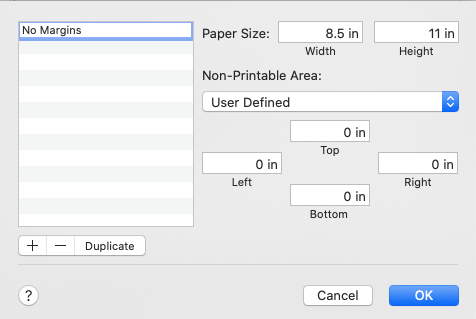
4. Update your page setup in printer settings to remove all margins:
Try printing it out in draft mode to check it is correct before doing in bulk to save ink.
This should print all pages in order so that you can take it right out of the printer and it's ready to go, you'll just fold in half and all pages should be in the correct order.
Printing the Cover
I found it easiest to print the cover and back page together as a separate document. I was planning on using a different paper and color (cardstock) anyway. To format this you can just use GIMP or Photoshop, create a canvas the same size as a landscape style piece of paper, place the cover as half and the back cover as the other half. I did not want to print anything on the inside.
When creating your cover artwork it's important to keep in mind that the end size will be 5.5" x 8"5".
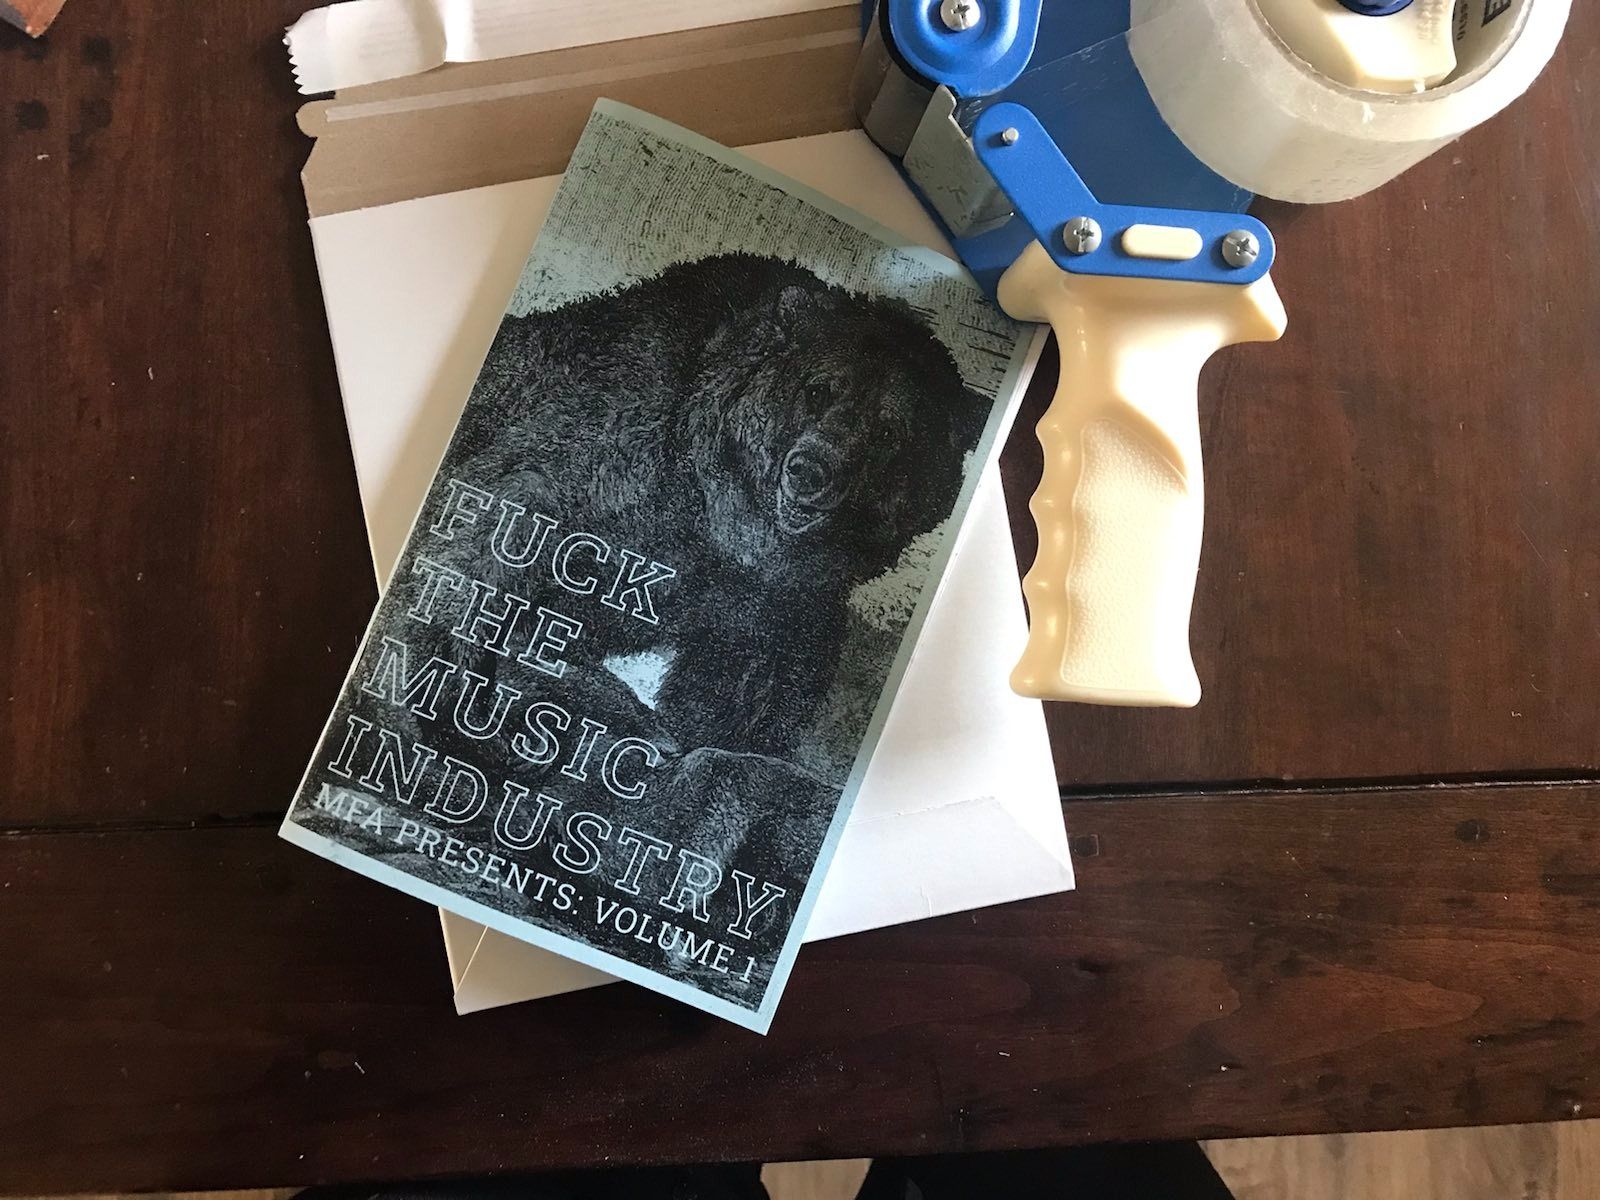
I attempted to print the cover page on ✨glitter paper ✨ but unfortunately the ink was forever smudged, which I attempted to remedy by applying acrylic spray to seal, but that wasn't quite right either.
I decided this was very dumb to waste any more time on, and proceeded with just normal 65 lb cardstock for these covers. I printed on regular high quality printer paper stock for the inside pages.
Stapler
I ended up using a stapler like this.
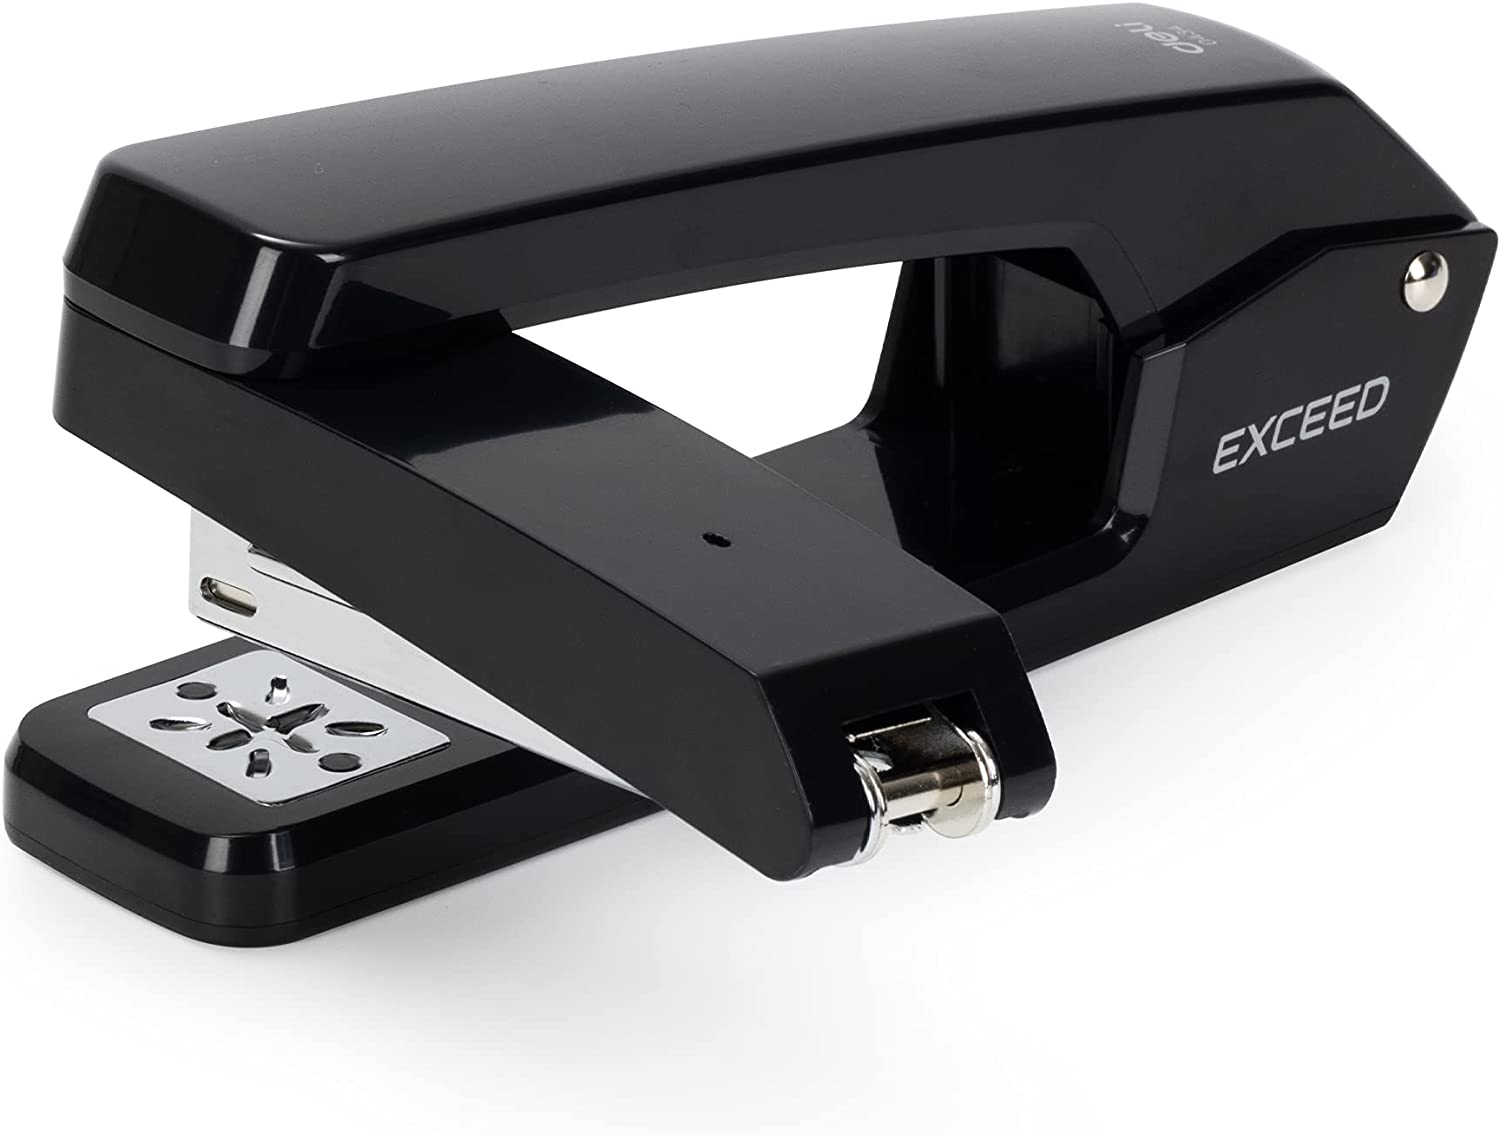
If you're printing more pages, you likely will need something more industrial, but this worked well for my needs. I quickly learned a regular stapler would not work.
Finally, I use Shopify for selling assorted things & stuff. I started with a free trial and if you just loiter around a bit you will likely get offered a discounted first year. To be honest I think this is the best value for easily selling stuff online if you are low to medium amounts of computer savvy.